|
Recipe by:Aarika Chilson
|


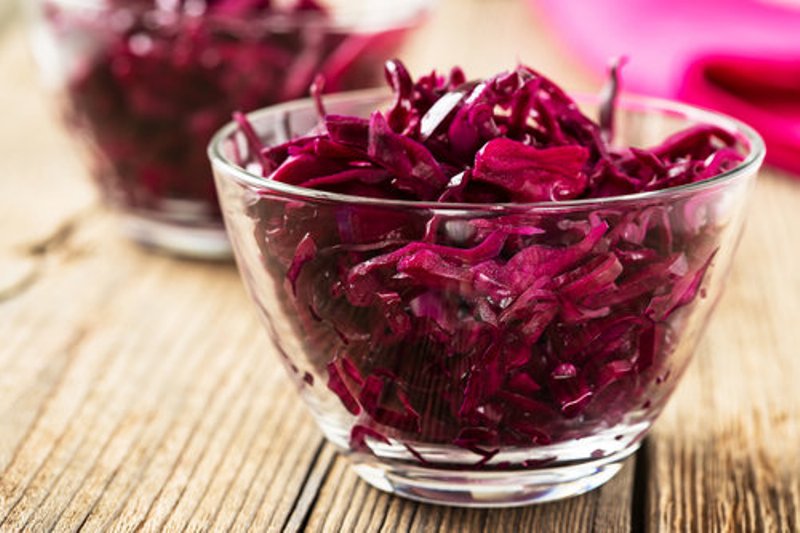
Beet Kraut with Ginger and Garlic
Prep:20minsTotal:1weekServes:1
Ingredients

- 1large head of purple/red cabbageraw and shredded
- 2cupsred beetsraw and grated
- 2Tbspkosher, pickling, or sea salt
- 2-3garlic clovesminced or grated
- 1inchfresh gingerminced or grated
- 1Tbspcaraway seeds
- 1tspdried dill
- water(for brine if needed)
| Directions |
|
- Finely (or chunky if preferred) slice, grate, or chop cabbage and beets (for tips on less messy prep, click here).
- Place beets and cabbage in a large bowl and sprinkle 1 tbsp salt over mixture. Let sit for 15-20 minutes.
- Massage (mash, press, or crush) mixture for about 10 minutes to get the juices flowing! Massaging mixture should create a lovely beet cabbage juice at the bottom of the bowl.
- Mix in garlic cloves, fresh ginger, caraway seeds, and dill.
- Leave ingredients in bowl on counter for about an hour until cabbage has wilted a bit and released more salty juice (water).
- Once cabbage/beet mixture is watery, pack mixture and juice into clean mason jars. Firmly pack down mixture (a wooden spoon works well). You want to eliminate as many air bubbles as possible. Keep packing until the jar is almost full (leave at least 1-2 inches at the top for expansion).
- Liquid should lightly cover mixture. If there is not enough liquid to cover the cabbage, mix 1 salt tbsp with 4 cups water, and add brine to bring the water level enough to cover cabbage.
- If cabbage floats, use a glass weight or piece of cabbage core to hold it down.
- Affix jar lids and set aside in room temperature (no direct sunlight) for about ONE WEEK.
- Placing jars on a dish or tray helps eliminate any messy leaking or spilling over. Additionally, “burping” the jar every day or so releases pent-up gasses. To do this, remove the lid (preferably over the sink), release the gasses, and also press down any floating pieces. You don’t want to introduce any non-clean bacteria to your mixture, so make sure any utensils or fingers used are clean and sterile!
- Taste your kraut after one week. If it has reached the right amount of flavor and tang, store jars in the refrigerator. If you wish to ferment your kraut further, leave at room temperature for a few more days or another week.
|
Ingredients
|
|
|
Directions
|
Notes
Notes:
This recipe accounts for 1 extra tbsp of salt for salt brine if needed. Since everyone’s taste buds are uniquely different, you may wish to alter the salt levels in this recipe based on your preferences. To test your salt-lovin’ ways, taste the brine in the bottom of the bowl after mashing mixture. The brine should definitely be salty, but if you prefer more, add additional salt to suit your palate.